
Iron On Transfer Paper: A Beginner's Guide
- Admin

- Oct 22, 2021
- 2 min read
Updated: Oct 13, 2025

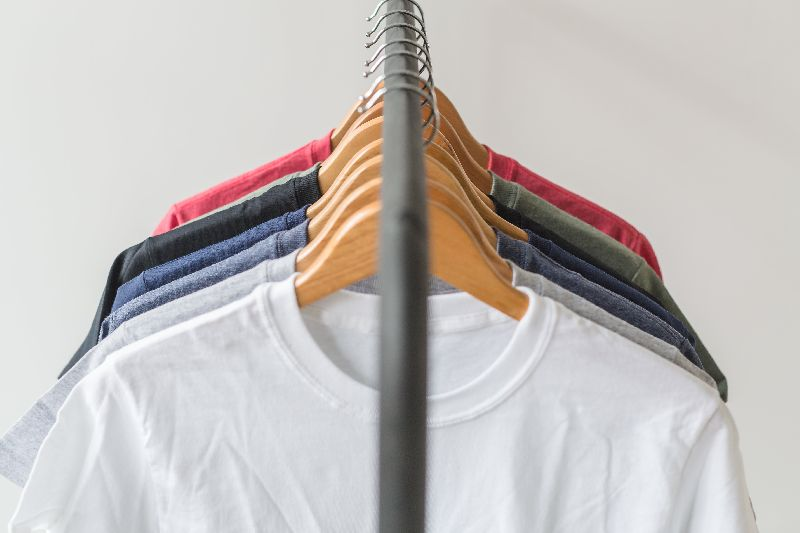
Take comfort in knowing there is an easy technique for making crisp shirts at home like iron on transfer papers. Transfer paper looks like plain old printer paper, but has an adhesive backing which you can use to make all sorts of garments look sharp and pressed. However, the paper's applications are not restricted to T-shirts; it can also be used to make aprons, cotton bags, pillows, tablecloths even hard surfaces such as wood. If you're searching for information on how to use iron on transfer paper, we've compiled a helpful guide that highlights some of the available information.
Printer Ink That Is Suitable for Your Printer
First-time users are often uncertain if their home or commercial printer is equipped with the necessary inks to print on the paper. This fear is unwarranted, since standard inks will function quite well. Because the key to the transfer process is the paper, not the ink, there is no preference for which printer or ink to use as long as it is an Inkjet printer.
Transfer Paper's White Versus Black Difference
It is critical that you choose the correct paper for the colour of the substrate on which you will print. In general, pictures printed on light transfer paper provide a vivid and realistic image when transferred to white or light coloured cloth. Because ink is transparent, it is not visible until it is applied to a white or extremely light coloured backdrop.
Dark textiles need the dark transfer paper, which has a white backdrop that transfers the ink and prevents the substrate's colour from showing through. As a result, acceptable pictures are often blocked images or images in which the white portions may be readily removed, as they will show on the shirt after the transfer process.
Prior to Printing, Flip the Image Over
A frequent mistake that always happens is not inverting the picture before the transfer procedure. When printing on light transfer paper, the picture must be reversed and printed in mirror mode. When the picture is put face down on the garment, it will appear in the correct orientation after the transfer procedure. Because the picture is put face up on the shirt prior to transfer, there is no need to reverse the image. If this step is skipped, the pictures will look inverted. Reversing a picture is a straightforward procedure that may be accomplished directly via the printer's settings menu or with the use of basic image editing software. We have already discussed a variety of methods for reversing a picture using a variety of tools.
Making errors while ironing on transfer paper is infuriating and may be costly. These most frequent errors to avoid while ironing on transfer papers:
Ignoring the picture's reversal
Printing on the uncoated side of the sheet
Using an iron that is not hot enough
Not ironing long enough
Not ironing with sufficient pressure
Ironing on transfer paper is a great way to personalise your clothes, shoes and other belongings. It's also an easy way for crafters to make their own items with unique designs like clothing or bags. If you're looking for more information about how iron on transfer paper works or if you want to learn what types of materials are best for this type of project, you've got the answers!


Comments